If you've recently purchased one of our adjustable grippers, first of all, thank you!
Second, lets give you a quick introduction into the wonderful world of grip.
Adjustable Grippers
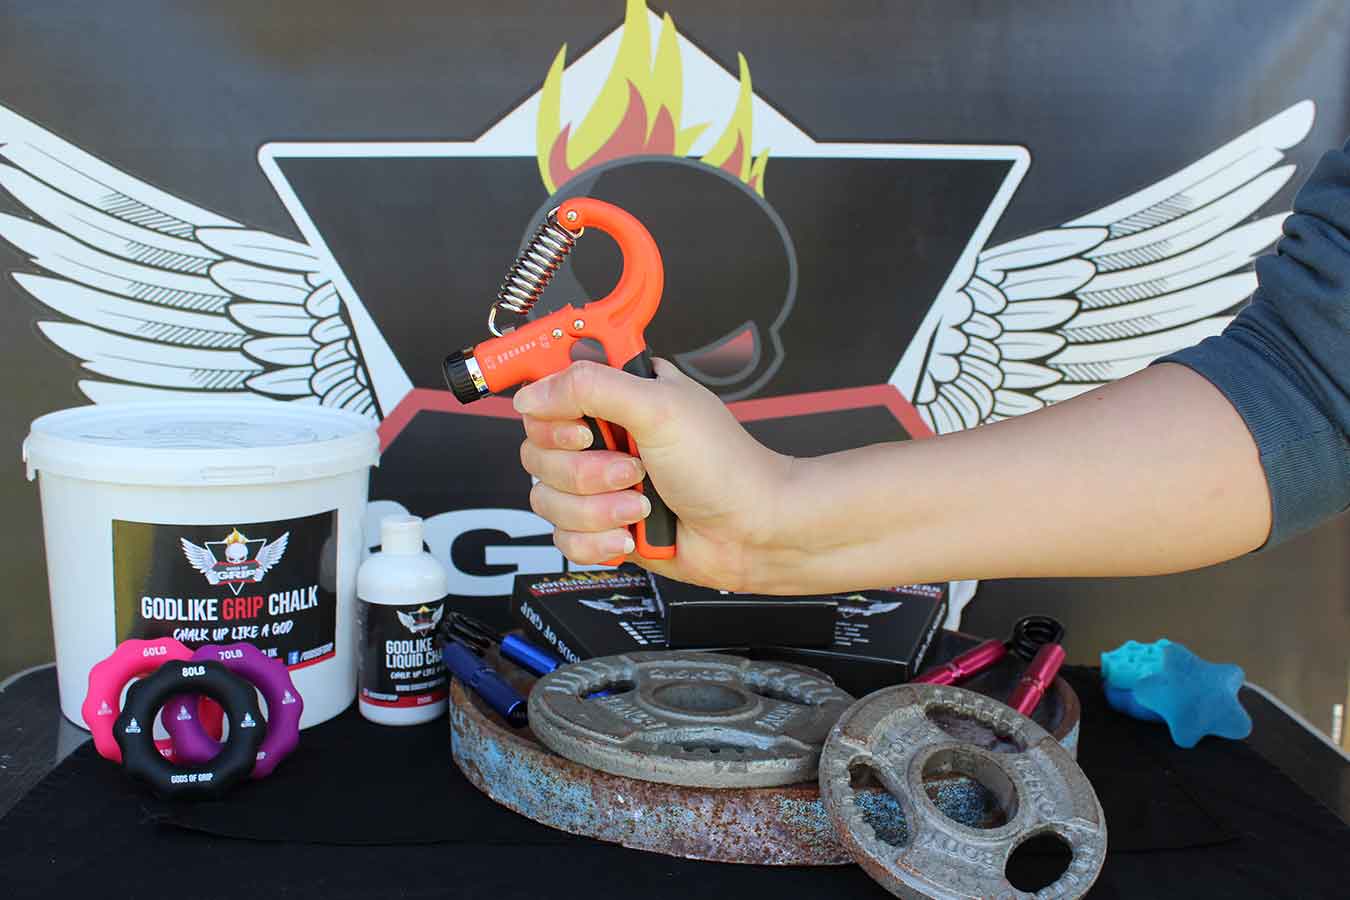
Adjustable grippers are the perfect introductory tool into grip training, weather your looking to build strength, develop musculature or recover from an injury.
Build Strength
The adjustable resistance allows you to improve and build strength. It also means you can set the resistance low to start and slowly build up over time.
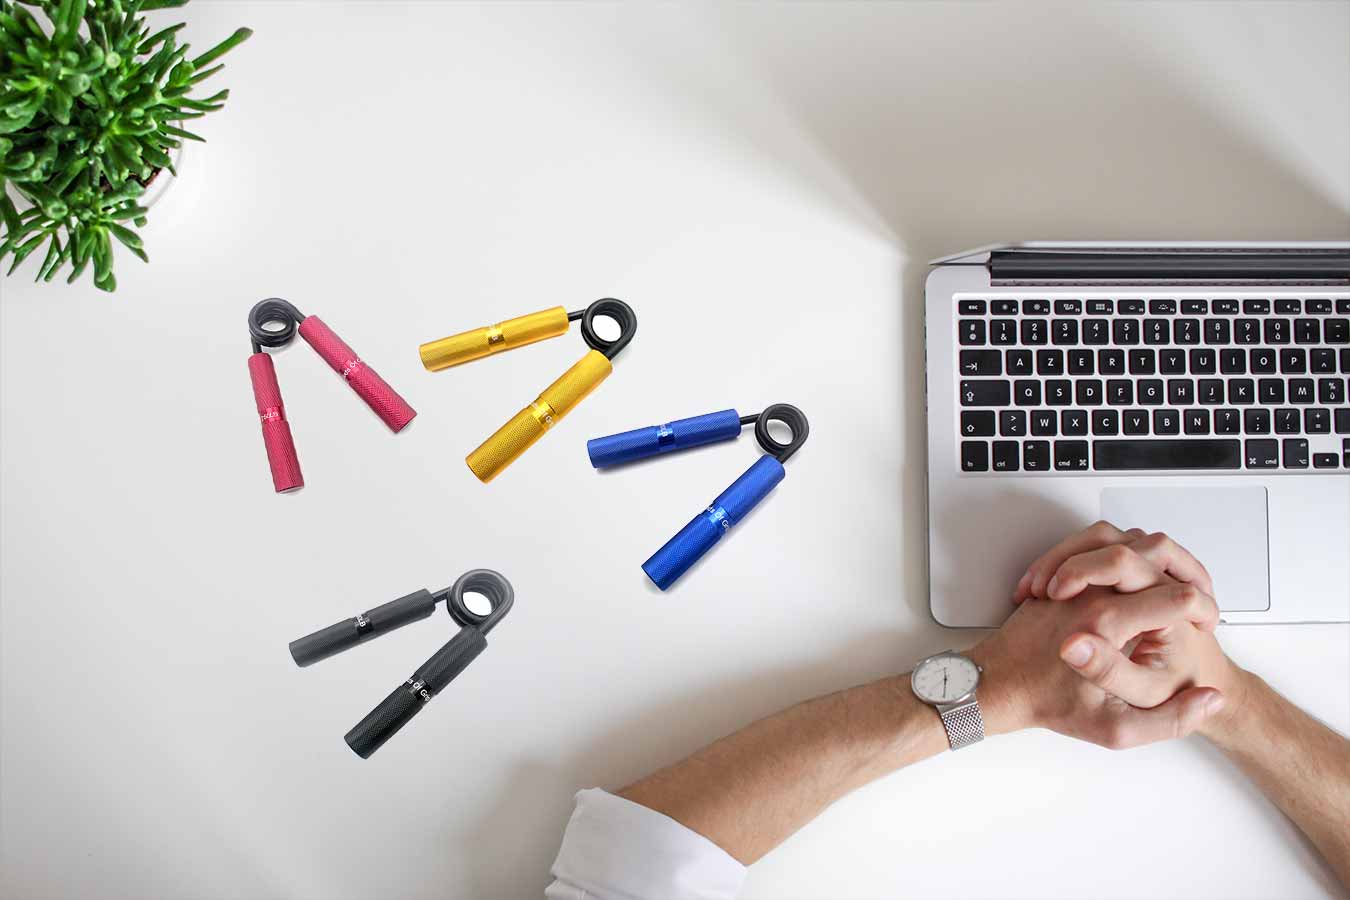
Our adjustable grippers range from 10kg – 60kg resistance. If you find you’re maxing out the adjustable gripper then its probably time to move onto the metal grippers with a higher resistance.
Recover
Using the adjustable hand gripper as a recovery tool is ideal. The ability to adjust the resistance means you can start off low to ease yourself into a recovery / rehabilitation routine. Over time you can slowly increase the resistance and see your progress.
With soft rubber padded handles they offer a great feel that wont irritate your hands while crushing the gripper and with an adjustable resistance there’s a starting point for everyone.
How To Use Your Gripper
Technically there is no wrong way to use your adjustable hand gripper. But there are a few ways which will make it more comfortable and efficient to use.
Adjustable Resistance
To change the resistance on your new gripper, you may notice the knob on the side of the gripper. Turning this will allow you to reduce / increase the tension on the spring. The further away the spring is from the gripper, the higher the tension. You can see this when compared to the rating on the gripper (10kg - 60kg)

Regular Close
Lets start with the regular close:
- Spring At The Top
- Flat Leg Against Your Palm
- Adjustable Knob Pointing Away From You
- Fingers Around The Curved Leg
You have performed one close when both of the legs of the gripper touch. This is the standard way to crush the hand gripper.
Reverse Close
This is very similar to the regular close but with the positioning on the legs the opposite way around. The benefit of this is targeting different areas of the hand and forearm. It's great to alternate positions during your workout.
- Spring At The Top
- Curved Leg Against Your Palm
- Adjustable Knob Pointing Towards You
- Fingers Around The Flat Leg
Inverted Close
A great way to target your ring / index finger more, the inverted close may look a little strange but it works wonders!
- Spring At The Bottom
- Flat Leg Against Your Palm
- Adjustable Knob Pointing Away From You
- Fingers Around The Curved Leg
Summary
It's great to include a mixture of all the closes mentioned above when working out. We would recommend starting off your training at 2 days a week and around 10 repetitions for 3-5 sets.
After a few weeks you can look at increasing this to 3 times per week and changing up the number of repetitions / sets depending on your goals.
Strength Reps
For building strength you want to try and focus on keeping resistance higher, training less frequent and repetitions lower.
Recovery Reps
For recovery you really want to start off with a low resistance, working your way back into training. Building up a solid foundation is key to progressing and preventing injuries. Keep the reps higher and listen to your body.


